Mirrored furniture is considered statement pieces that add a touch of flare and glamour to any room. They are not only convenient, but ornamental, allowing the room to appear much larger and spacious than it actually is, as well as increasing the lighting in a given room through nothing more than reflection, and over the years they have become a much in demand home furnishing item. Mirrors have become a major component of contemporary and classic artistic furniture.
Of course, this sort of luxury comes at a price, with mirrored furniture being on the higher end of the pricing scale ever since it first emerged as a home furnishing trend in the 20s and 30s. And yet while costly, it is also quite durable, and properly cared for pieces are often passed down from generation to generation.

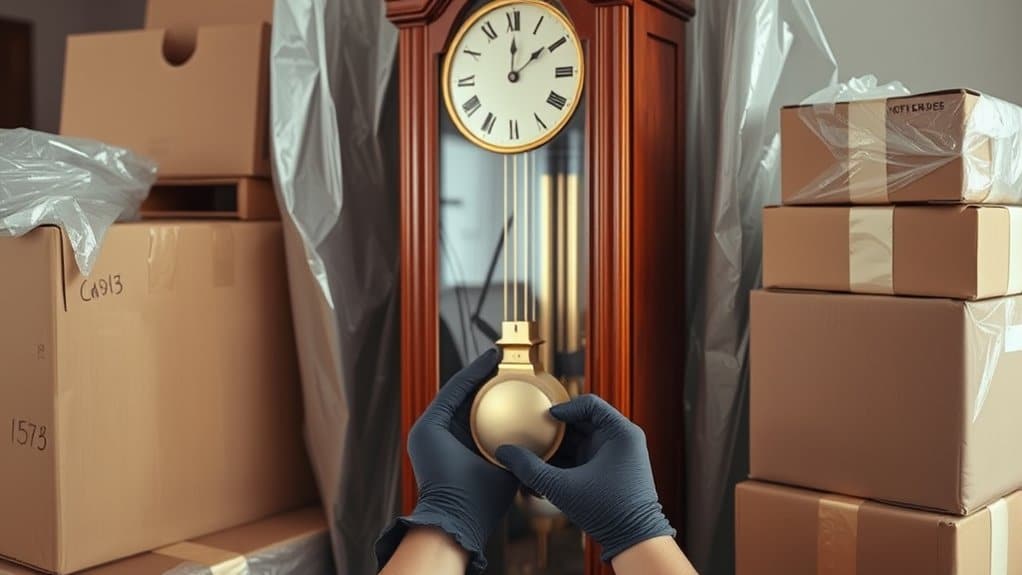
On their own, mirrors can be difficult to move. They are heavy, awkward, and that combination makes them ripe for breakage. Breakage in the wrong place at the wrong time could mean injury. Today, many pieces of furniture come with mirrors, such as dressers, and even some nightstands. When the time comes to move or transport them, you need to be diligent and make certain they are safely and efficiently transported in such a way as to prevent damage, or worse, personal injury.
It is precisely for these reasons that moving mirrored furniture or any type of artistic furnishings is a precise science, one that requires careful planning and meticulous execution, with special treatment required to make sure that your prized possessions arrive safely at your new home or office space. You may wish to contact a professional moving company, as they have the skills, equipment, and experience needed for such a job, and they can often do in a few hours what might take the rest of us the better part of a day to get done.
The safety and security of your mirrored furniture needs to be a priority when planning your long-distance move. You do not want to risk a mirrored dresser or nightstand being damaged due to a lack of proper planning. If you plan on making the move yourself, may we recommend the following moving tips when considering your personal mirrored furniture.
Prep For Moving
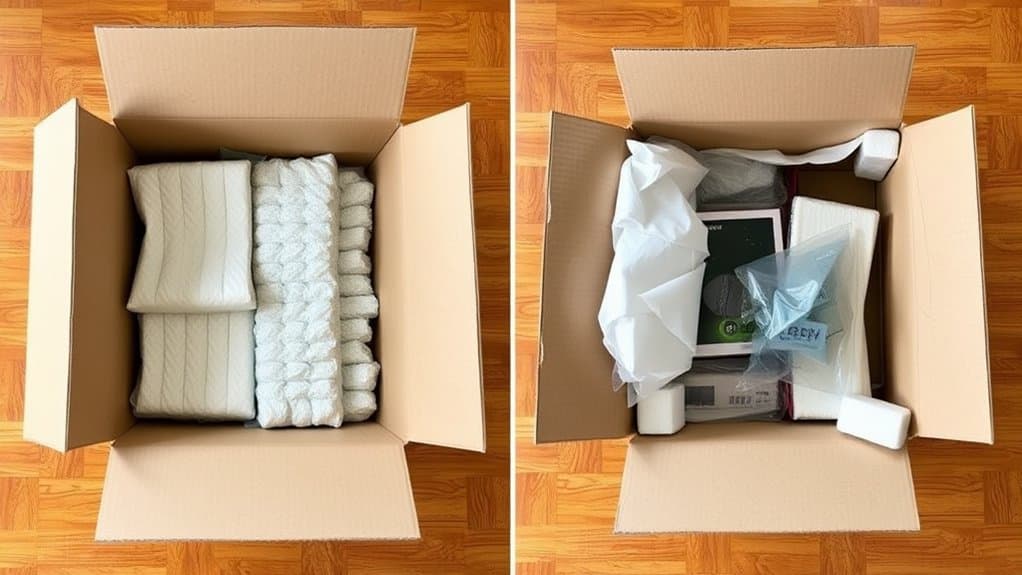
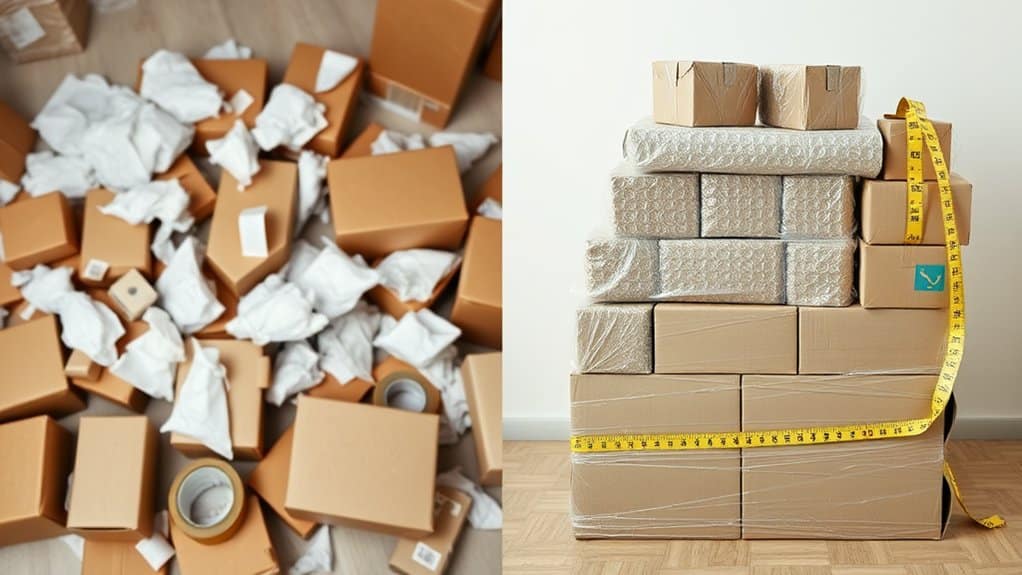
First off, gather together the following supplies:
- At least 2 or 3 moving blankets per piece
- Several rolls of packing tape
- Several large sheets of bubble wrap
- Furniture straps of the ratchet variety
- Glass cleaner and microfiber cloths (this is important)
- Screwdriver set
- Work gloves
- Measuring tape
A good rule of thumb is to buy more than you think you will need. It is far better to have too much than too little.
It may seem obvious to say, but you will need to remove all the contents of your mirrored dresser or nightstand. This will lighten the load and make the piece easier to handle and maneuver. Removing the drawers also reduces weight, however, they may be left in if you are able to fasten them closed; just make sure they do not unexpectedly slide open as this may result in chips, scratches, or scuffs.
Also, some units may come equipped with lighting, so make sure all the power cables have been disconnected and properly coiled and stowed. At the very least, you may want to tape them to the sides or inside of the unit until you reach your destination.
That’s A Wrap
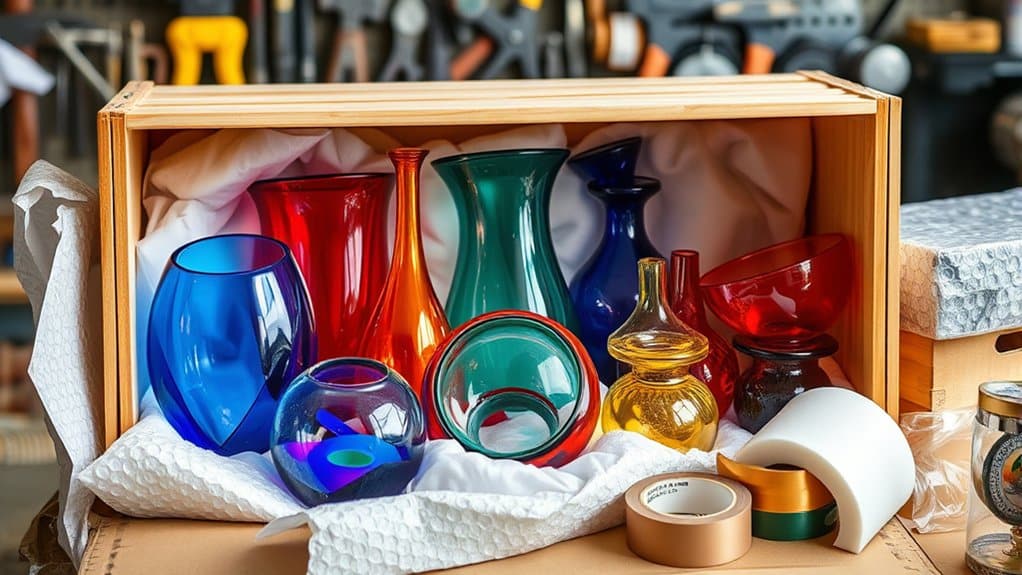
You will want to have an ample supply of bubble wrap, packing tape, and other moving related items on hand. We recommend wrapping the piece, especially the mirror itself, in order to prevent any possible damage. This can be done with clear wrap, moving blankets, or several layers of both. Basically, do not scrimp on the wrapping.
An Ounce of Prevention
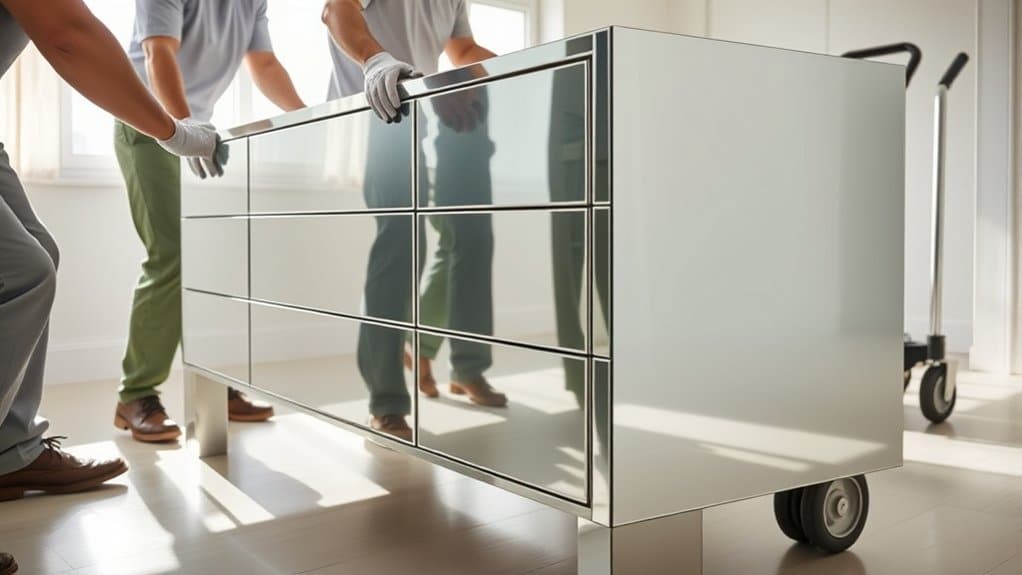
Unlike moving most other heavy items, it is not recommended to use a dolly or hand trucks or any similar moving equipment when transporting mirrored furniture. It would not take much of a shift or a fall to permanently damage the item. In the case of mirrored furniture, good old hard work is the solution. Put on some work gloves and a solid back brace and manhandle the piece into the truck or your new home. Yes, it will be a little more difficult, but you will stand a much greater chance of protecting the piece from cracks or other damage.
The Company You Keep
Do not place mirrored furniture in close proximity with other furniture items, especially hard ones like kitchen appliances, stoves, etc. One sudden stop or rapid lane change could cause the furniture items to bang into one another, again, causing damage to the mirrored piece.
Do Not Unpack
At least, not immediately. If your new place has not been properly set up, hold off on bringing in the furniture until it is ready. Exposing mirrors to an unfinished environment might put the item at risk. Wait until the space is ready for the piece before bringing it in.
Proper Downloading
When the time has come to unload do everything in reverse order of when you packed it up to begin with. Have a friend, or friends, help you move the piece (by hand, remember no dollies). Once you are on the floor of your new home, moving discs may be placed under the unit, allowing you to slide it fairly easily into whatever room it is designed to go into.
Once in and properly located, carefully remove all of the moving blankets, wrapping, and bubble wrap. The re install the drawers and connect any electrical components that may be a part of the mirrored furniture piece.
Finally, take your glass cleaner, furniture cleaner and microfiber towels and wipe down the unit from top to bottom. With that your unity should be ready to go.
As with any long-distance move, the transport of mirrored furniture can be problematic, and in many ways presents its own unique brand of challenges. With the proper planning and care, the moving of your mirrored furniture pieces can be just like any other part of your move, a fun and rewarding adventure.