Unpacking and Organizing Your New Home

Unpacking and Organizing Your New Home

Turning Your Space Into a Home, One Step at a Time

cross country movers

When you're unpacking and organizing your new home, start by creating a detailed room-by-room checklist to guide your efforts. You'll want to unpack systematically, focusing on essential spaces like your bedroom and bathroom first. Set up your furniture to establish clear pathways, keeping 36-48 inches between pieces for easy movement. Use clear, labeled containers for storage and implement vertical solutions to maximize space. Create a command center with calendars and charging stations to manage daily tasks, and maintain a "one-in, one-out" rule to control clutter. For the smoothest changeover, you'll discover it's all about having the right organizational systems in place.

Getting Started With Your Move

preparing for your relocation

When you're preparing to move into a new home, careful planning and organization are essential for a smooth changeover.

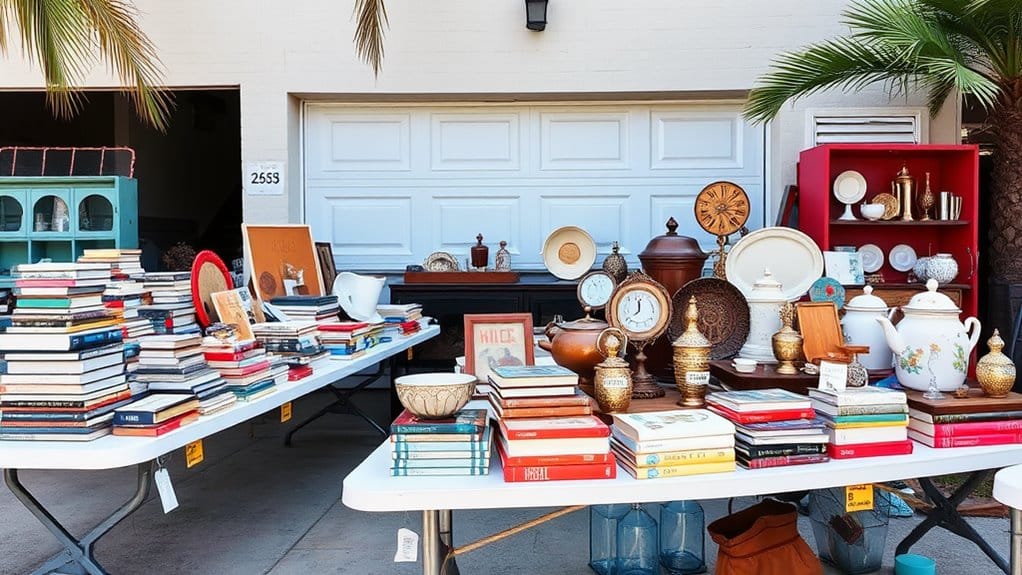
Start by creating a detailed moving checklist that covers all aspects of your relocation, from initial packing to final setup. You'll want to begin with a thorough room-by-room inventory of your belongings, deciding what to keep, sell, or donate. Keep a binder with documents ready to store important paperwork and contacts for utilities setup. Consider hiring professional movers after researching reviews and obtaining multiple quotes for comparison. Remember to compare moving companies to ensure you're making an informed choice.

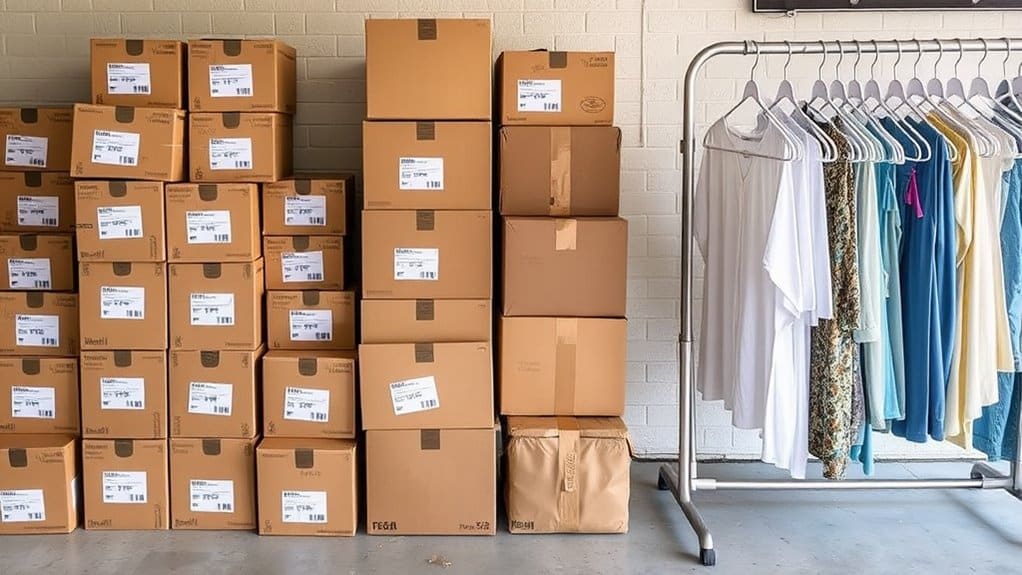
Your packing strategies should focus on organizing items by category and room, using clear labels on all boxes to track contents easily. Having a designated essential items box will ensure quick access to survival necessities during the unpacking process.

Gather essential packing supplies, including bubble wrap and packing paper for fragile items, and keep important documents in a separate, secure container.

As you pack, remember to set aside daily necessities in an easily accessible bag, ensuring you'll have everything you need during the first few days in your new home.

Setting Up Essential Living Spaces

After completing the initial moving preparations, your focus should shift to creating functional living spaces in your new home.

Start by organizing your bedroom, setting up your bed and arranging closet spaces for easy access to clothing and essentials.

Next, tackle living room essentials by positioning your sofa and seating areas to create a welcoming conversation space, complemented by proper lighting and entertainment setup.

When arranging these spaces, you'll want to work systematically, unpacking one room at a time to avoid feeling overwhelmed.

Use organizational tools like drawer dividers and labels to keep items accessible, and consider multi-functional furniture to maximize your space.

Remember to position frequently used items within easy reach, and utilize vertical storage solutions like bookcases to make the most of your available space.

Establishing a daily cleaning routine will help maintain the organization of your newly arranged spaces.

A comfortable dining room table can serve multiple purposes, from family meals to workspace for various activities.

Room Layout Planning Tips

effective room design strategies

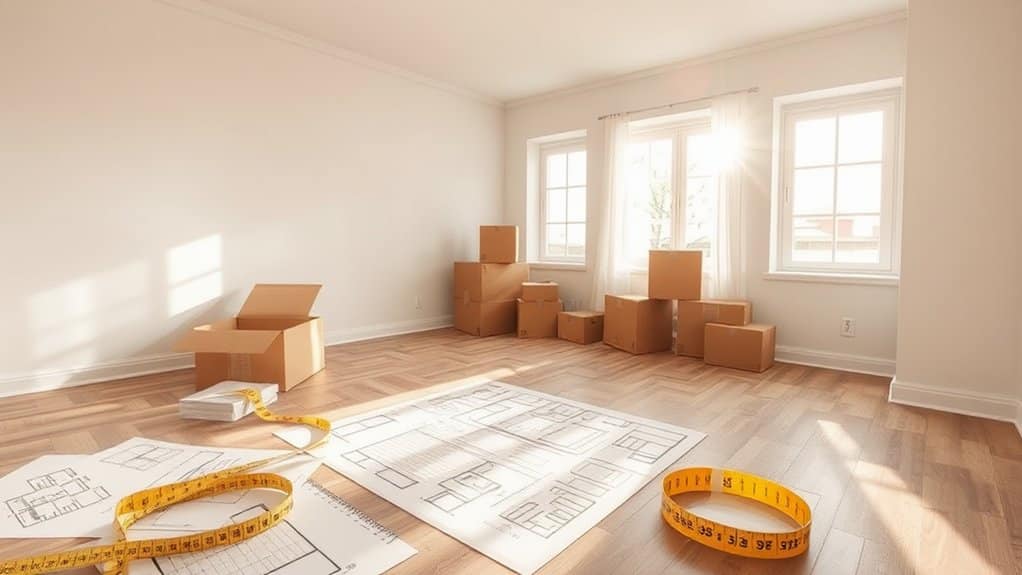
When planning your room's layout, you'll need to establish clear paths for moving between different areas while keeping furniture arrangements practical and functional.

You can create efficient traffic patterns by positioning larger pieces first and maintaining adequate walking space of 36-48 inches between furniture groups.

Your furniture placement should support the room's primary activities, whether it's conversation, entertainment, or relaxation, while making the most of available space through smart positioning and vertical storage solutions. Additionally, consider using storage solutions that can help you keep the space organized and clutter-free.

Furniture Flow Patterns

Since furniture placement can make or break a room's functionality, understanding proper flow patterns is essential for creating comfortable living spaces.

When planning your furniture arrangement, start by ensuring pathways measure 36-48 inches wide for ideal movement efficiency. You'll want to maintain 30-36 inches between major furniture pieces, while keeping coffee tables 16-18 inches from seating areas.

Your furniture layout should support natural traffic patterns and emphasize focal points like fireplaces or large windows. As you position pieces, remember to create clear pathways that don't obstruct doorways.

In busy areas like kitchens, allow 42-48 inches of space for two people to work comfortably. Keep your furniture heights consistent within groupings, and position end tables within 1-2 inches of arm height for practical accessibility. Additionally, consider strategic timing to enhance the efficiency of your moving process, which can also influence your furniture layout as you settle into your new space.

Space-Saving Design Basics

Making the most of your available space starts with smart layout planning and design principles. When you're setting up your new home, focus on creating efficient layouts that maximize every square foot while maintaining a comfortable flow.

You'll want to embrace minimalist designs that reduce clutter and enhance functionality throughout each room.

  1. Define specific zones within each room to create purposeful spaces that support your daily activities.
  2. Position furniture away from walls to create a more open, balanced atmosphere.
  3. Incorporate vertical storage solutions to maximize unused wall space.
  4. Select multifunctional furniture pieces that serve multiple purposes.

Remember to measure your rooms carefully before arranging furniture, and consider traffic patterns when planning your layout. Additionally, applying efficient packing strategies can help you systematically organize your belongings as you settle into your new space.

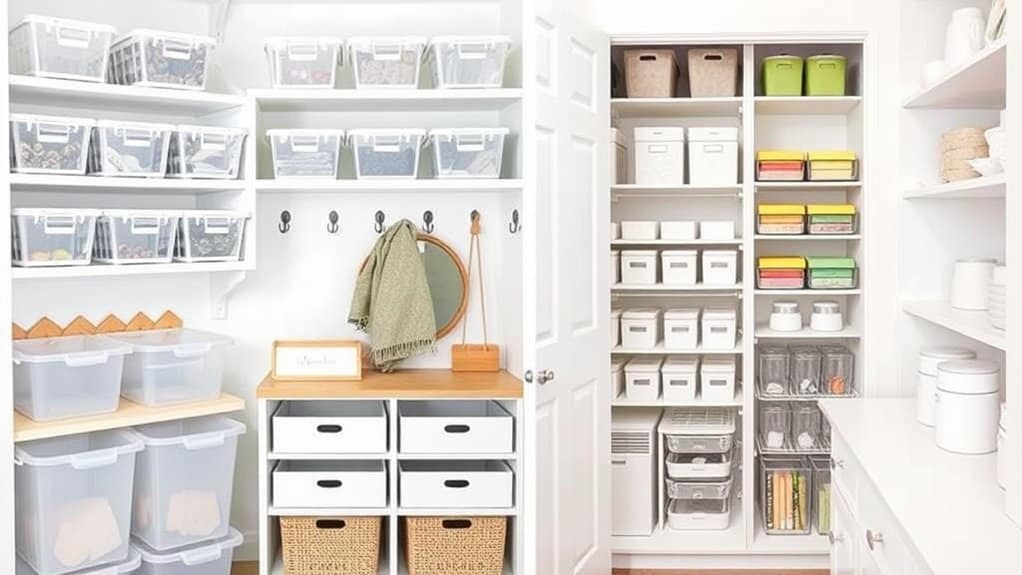
Smart Storage Solutions

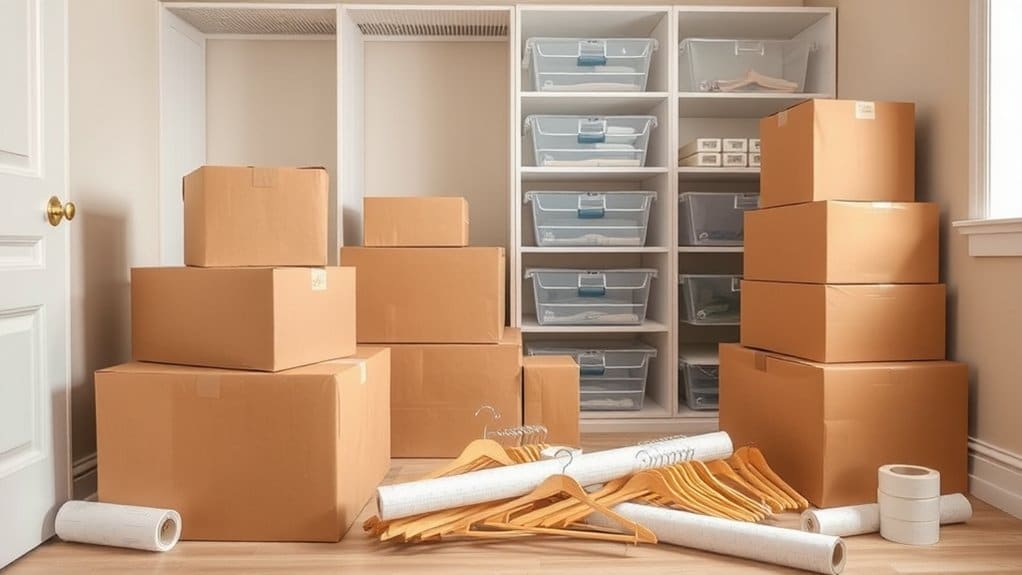
When you're looking to maximize your new home's storage potential, start by thinking vertically with wall-mounted shelves, over-door organizers, and stackable containers that make the most of your ceiling height.

You'll find clever hidden storage opportunities in unexpected places, such as under-bed spaces, behind doors, and within furniture pieces that serve multiple purposes.

To keep your belongings organized and accessible, invest in clear, labeled containers that can adapt to different spaces, combining drawer organizers, bins, and adjustable shelving systems to create a customized storage solution that works for your specific needs. Additionally, consider utilizing short-term storage options during transitions or renovations to keep your space clutter-free.

Vertical Space Maximization Tips

After moving into your new home, maximizing vertical space becomes essential for creating an organized and clutter-free environment. Wall mounted solutions, like floating shelves and pegboards, can transform unused wall areas into functional storage spaces.

Consider incorporating vertical gardening elements to add both storage and natural beauty to your living spaces.

  1. Measure your walls carefully before installing any storage solutions to guarantee proper fit and functionality.
  2. Install adjustable shelving systems that can adapt to your changing storage needs.
  3. Utilize wall-mounted cabinets in bathrooms and kitchens to keep essentials off countertops.
  4. Create custom corner shelving units to maximize otherwise wasted space.

Remember to blend your storage solutions with your home's existing décor, choosing options that serve both practical and aesthetic purposes.

Multi-functional furniture pieces can further enhance your vertical storage strategy while maintaining a clean, organized look.

Hidden Storage Spots

Smart storage solutions often lie hidden in plain sight throughout your home.

You'll find valuable storage opportunities under your bed, where vacuum-sealed bags and clear bins can protect seasonal clothing and extra bedding.

Hidden compartments in furniture, like storage ottomans and coffee tables with built-in storage, offer convenient spots to tuck away everyday items while maintaining a clutter-free appearance.

Don't overlook spaces that might seem unusable at first glance.

The area behind cabinet doors, space above toilets, and gaps between wall studs can transform into practical storage areas.

Consider installing recessed shelving or using over-the-door organizers to maximize these overlooked spaces.

You can even repurpose vintage suitcases as decorative storage units, combining both function and style in your home organization strategy.

Multi-Purpose Container Solutions

The key to effective home organization lies in selecting versatile storage containers that serve multiple purposes. When choosing storage solutions, consider different container materials like plastic, wicker, and fabric to match your organizational aesthetics while maintaining functionality.

You'll want options that can adapt to various spaces throughout your home, making the most of your storage potential.

Here are four essential tips for maximizing multi-purpose containers:

  1. Select clear containers for pantry items that can later be repurposed for craft supplies.
  2. Use lidded bins that work equally well in closets or under-bed storage.
  3. Choose stackable containers that can shift between seasons and spaces.
  4. Invest in drawer organizers that can work in any room, from kitchen to bathroom.

Stay flexible with your storage choices, allowing them to evolve with your needs.

Command Center Organization

command center structure overview

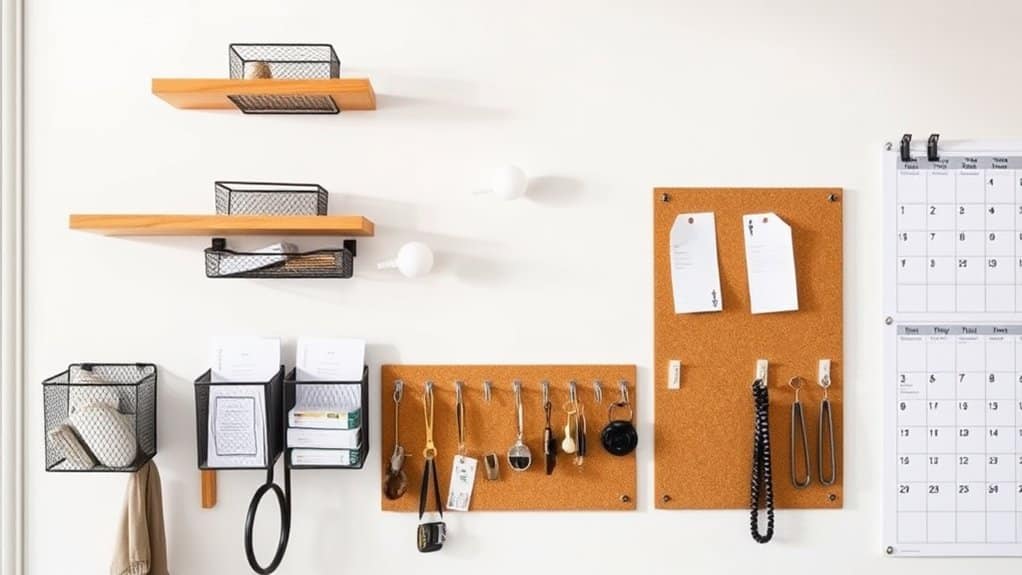
Creating an organized command center serves as the backbone of a well-functioning household. When setting up your command center essentials, you'll want to choose a central location that's easily accessible to all family members, such as your kitchen, mudroom, or entryway.

Command center customization should reflect your family's unique needs, incorporating elements like calendars, charging stations, and storage solutions for important papers and devices.

Start by planning your space carefully, considering what components you'll use most frequently. You'll need a mix of organizational tools, including wall-mounted calendars, dry-erase boards for messages, and designated spots for keys and mail.

Don't forget to include file organizers and bins to keep paperwork tidy, and make sure to label everything clearly for easy identification.

Decluttering During Unpacking

Moving beyond your command center setup, successful unpacking starts with a strategic decluttering approach. When you're implementing decluttering strategies, it's crucial to tackle one room at a time while sorting items into distinct categories.

Your organizing hacks should include labeling boxes clearly and using vertical storage solutions to maximize space efficiency.

  1. Sort items immediately into three piles: keep, donate, and discard
  2. Create designated zones in each room for efficient unpacking
  3. Utilize post-it notes to plan item placement before unpacking
  4. Set up storage solutions like shelves and bins as you go

Remember to break down boxes as you empty them, and maintain a donation box nearby for items you no longer need.

This systematic approach will help you create an organized, clutter-free space while making the unpacking process more manageable and efficient.

Systems for Daily Organization

daily organization management systems

Once you've completed the initial unpacking phase, maintaining an organized home requires implementing reliable daily systems.

You'll want to create daily checklists that outline specific times for routine tasks, including tidying up, meal planning, and household chores. Keep a storage inventory to track where items are located, using clear labeling systems and storage solutions that maximize both horizontal and vertical space.

To maintain long-term organization, establish morning and evening routines that involve the whole family. You can assign specific tasks to family members and use organizational apps to keep everyone on track.

Remember to implement the "one-in, one-out" rule to prevent clutter buildup, and schedule regular reviews of your organizational systems to guarantee they're still meeting your household's needs.

Creating Functional Living Areas

To establish functional living areas that work for your lifestyle, start by arranging furniture to create natural pathways and comfortable conversation zones throughout each room.

Through effective functional zoning, you'll make each space more purposeful while ensuring lifestyle adaptability as your needs change.

  1. Define distinct areas using strategically placed rugs and furniture arrangements, creating clear boundaries between living, dining, and work spaces.
  2. Incorporate multiple lighting sources, including pendant lights and table lamps, to enhance both ambiance and functionality.
  3. Maximize vertical storage with shelving units and bookcases to keep frequently used items within easy reach.
  4. Choose versatile, multi-functional furniture pieces like storage ottomans and sofa beds that can adapt to different uses throughout the day.

Remember to maintain clear pathways between zones while ensuring each area serves its intended purpose effectively.

Conclusion

Studies show that the average American moves 11.7 times in their lifetime, making organization skills essential for your future. When you've followed these unpacking and organizing strategies, you'll find your new home feels settled and functional. By establishing smart storage solutions, maintaining your command center, and creating purposeful spaces, you've built a foundation for an organized lifestyle. Your efforts will continue to pay off as you enjoy your well-structured living space.

When organizing a garage sale before leaving California, you'll need to start planning at least two weeks ahead. Begin by checking your local permit requirements, as many CA cities have specific rules and fees. Sort your belongings into clear categories like clothing, electronics, and furniture, then price items at 25-50% of their original value. Create eye-catching signs and post on community websites to attract buyers, and set up your display with larger items near the street. Schedule your sale during early morning hours on non-holiday weekends, and consider partnering with neighbors to increase traffic. The following strategies will help you maximize your profits while simplifying your move.

Start Early and Plan Ahead

prepare in advance strategically

Success in organizing a garage sale starts with thorough planning weeks before the actual event. You'll need to carefully consider the garage sale logistics, including selecting a suitable date, organizing your items, and planning your layout.

Choose a weekend date during late spring to early fall when the weather is favorable and more shoppers are likely to attend. Early morning hours work best to attract serious buyers. You'll want to avoid holiday weekends when potential buyers might be traveling.

Start sorting through your belongings early, categorizing items by type such as clothing, books, and household goods. This organization will make it easier for shoppers to browse and find what they're looking for.

For effective promotion, create eye-catching signs and place them strategically around your neighborhood. You can expand your reach by posting your sale on community websites and social media platforms.

Consider joining forces with neighbors who are also planning sales to create a more attractive shopping destination. Don't forget to prepare a cash box with plenty of change and set realistic prices for your items.

Being ready to negotiate will help you move items more quickly and guarantee a successful sale.

Location Rules and Permits

Before setting up your garage sale, you'll need to research and comply with your local area's rules and permit requirements. Different cities in California have varying garage sale regulations that you must follow to avoid potential fines or shutdowns.

If you're in Long Beach, you'll need to obtain a $17 permit for three consecutive days and can only operate between 8:00 a.m. and 3:00 p.m.

San Gabriel residents must submit their permit application at City Hall, paying $12 for a two-day permit, and they're limited to two sales per year. San Gabriel allows for one free rescheduling within six months if you need to cancel your planned sale dates.

In Maywood, you can get your mandatory permit either online or in person, but you'll want to check their website for specific requirements.

Santa Ana offers more flexibility since no permit is required, but you can only hold sales during designated weekends in March, June, September, and December.

You'll need to stick to the 8 a.m. to 5 p.m. timeframe and can only sell used household items.

Remember that each city has specific signage restrictions, so be sure to verify these details when planning your sale's advertising strategy.

Sorting Your California Home

organizing california home spaces

Getting your California home organized for a garage sale takes strategic planning and careful sorting. You'll want to start by creating distinct zones throughout your space, focusing first on clothing organization and working your way through other categories methodically.

Begin by sorting your items into clear categories: clothes, books, electronics, kitchenware, and furniture. For clothing organization, use portable garment racks and organize pieces by size, gender, and season. Plan your sale for Saturday morning to maximize attendance. You'll find that proper item categorization makes it easier for shoppers to find what they're looking for, potentially leading to more sales. Additionally, consider using professional packing services if you have larger items that may need extra care during transportation.

Set up your display areas with taller items at the back and shorter ones in front, ensuring everything is visible to browsers. You'll need tables and shelves to create appealing displays, and don't forget to group similar items together.

For smaller items, use clean boxes or bins to keep them organized and accessible. Make sure to leave enough space between display areas for comfortable browsing.

You can create an effective traffic flow by arranging tables in an L-shape or circle pattern, which helps guide shoppers naturally through your sale items.

Pricing Strategy for Quick Sales

Set your garage sale items into clear price tiers of $1, $5, $10, $15, and $20 to help shoppers quickly identify what's in their budget range.

You'll save time and attract more buyers by creating smart bundles, such as grouping similar books, toys, or kitchen items together at a single, attractive price point.

Before finalizing your prices, check local Facebook Marketplace and Craigslist listings to verify your items are competitively priced for your neighborhood, keeping in mind that garage sale prices typically run 25-50% lower than online resale values.

Fast-Moving Price Tiers

During successful garage sales, a clear pricing tier strategy can dramatically increase your selling speed and overall profits. Understanding fast moving trends and pricing psychology will help you create effective price points that attract buyers while maximizing your returns.

Start by organizing your items into clear price tiers: premium items at 50% of retail for excellent condition, mid-range items at 25-30% for good condition, and bargain items at 10% for fair condition.

You'll want to price items about 15-20% above your minimum acceptable price to allow room for negotiation. When you're unsure about an item's original value, check online marketplaces to determine current market prices.

Make your pricing structure easy to understand by using simple increments like 25 cents, 50 cents, or whole dollars. Consider bundling similar items together to speed up sales and attract bulk buyers.

You'll notice that clearly marked prices using bright stickers or visible signs help customers make faster decisions. Remember to adjust your prices based on seasonality - summer items will sell better during warmer months, while winter gear might need deeper discounts during off-seasons.

Bundle Deals Save Time

Bundle deals serve as a powerful time-saving strategy for both sellers and buyers at garage sales. When you group similar items together and offer them at a discounted price, you'll create an efficient selling system that reduces individual price negotiations and speeds up transactions.

You'll find that bundle benefits extend beyond just saving time, as customers often feel they're getting better value through these package deals.

To maximize customer engagement, you'll want to clearly display your bundle pricing structure. Create easy-to-understand signs that show how much buyers can save when purchasing multiple items together. For example, you might offer "3 books for $5" or "Any 4 pieces of clothing for $10."

You can also implement tiered pricing, where customers save more as they buy more items.

As the day progresses, you can adjust your bundle prices to help clear remaining inventory. This flexibility helps you maintain steady sales throughout your garage sale.

Remember to keep your bundles organized by category, making it simple for shoppers to find complementary items they might want to purchase together.

Research Local Market Rates

While bundle deals can attract bargain hunters, knowing the right base prices for your items forms the foundation of a successful garage sale.

You'll need to research local pricing in your area by checking nearby thrift stores and online marketplaces to understand current market rates.

Start by evaluating your items' conditions and original retail prices. For new items, price them at 25-50% off retail, while excellent condition items should be marked at 50% of their original price.

Items in good condition warrant 25-30% of retail, and those in fair condition should be priced around 10%. Consider your neighborhood's demographics when setting prices, as upscale areas can support higher rates than college towns.

Pay attention to item demand and seasonal factors when pricing your goods. You'll find that summer items sell better in spring, while winter gear moves quickly in fall.

Use simple pricing increments, like $1, $5, or $10, to make transactions smoother. Always clearly label your items and prepare for negotiations by setting initial prices slightly higher than your minimum acceptable amount.

This strategy gives you room to offer discounts while still making satisfactory sales.

Marketing Your Moving Sale

promote your moving sale

A successful garage sale depends heavily on effective marketing strategies to attract potential buyers. To reach your target audience effectively, you'll want to implement various promotional tactics across multiple channels, including online platforms and traditional advertising methods.

Start by creating eye-catching signage using bright colors and clear lettering that's visible from a distance. You'll want to place these signs at key intersections and along major routes leading to your sale.

Complement your physical advertising by posting detailed listings on platforms like Craigslist, Facebook Marketplace, and local yard sale websites, making sure to include high-quality photos of your items.

Don't forget to leverage social media's power by sharing your sale in community groups and local buy-sell forums. You can create engaging posts that showcase specific items, especially those that might attract collectors or enthusiasts.

It's important to start your marketing efforts at least two weeks before the sale date, allowing enough time for word to spread.

For maximum exposure, consider placing classified ads in local newspapers and distributing flyers in permitted public areas, ensuring you've included all essential details like date, time, location, and featured items.

Setting Up Display Areas

Creating an effective display layout for your garage sale is vital for attracting customers and maximizing sales. When setting up your display areas, you'll want to focus on both display aesthetics and item categorization to guarantee shoppers can easily browse and find what they're looking for.

  1. Start by arranging your driveway displays strategically, keeping pathways clear for foot traffic while maximizing your selling space. You can place items along the edges or create a center display with walking areas on both sides.
  2. Transform your lawn into an organized shopping zone by laying out blankets and tarps to protect items from dirt. Set up makeshift tables using ladders and boards to create different height levels for better visibility.
  3. Use your vehicle and porch creatively by hanging lightweight items from car mirrors and arranging eye-catching merchandise on your porch steps to create an appealing multi-level display.
  4. Enhance your display areas by grouping similar items together and using everyday objects like suitcases and serving trays as creative display platforms.

Don't forget to position large, attractive items near the street to draw attention from passing traffic.

Money Handling and Security

Protect your garage sale earnings by setting up a secure cash box in a spot where you'll always have eyes on it, and consider using a fanny pack for easier mobility when handling transactions.

You'll want to establish clear money-handling procedures, including checking large bills for authenticity and keeping a running total of your sales throughout the day.

While cash remains the traditional payment method, you might want to explore secure digital payment options like Venmo or Cash App to accommodate modern shoppers who don't carry cash.

Cash Box Best Practices

Managing your garage sale's cash box requires three essential components: proper setup, smart organization, and vigilant security measures. You'll need to choose between traditional cash box types or alternatives like money aprons and fanny packs, depending on your comfort and mobility needs.

When setting up your cash organization system, separate bills and coins into distinct sections for quick access during transactions.

  1. Start with $20 in change, including plenty of small bills and coins to handle early-morning purchases effectively.
  2. Place your cash box or money handling system in a central location where you can monitor it continuously.
  3. Empty excess cash periodically throughout the sale, maintaining only your initial float amount.
  4. Keep a designated cashier at all times to prevent confusion and enhance security.

For maximum efficiency, arrange your bills facing the same direction and sort your coins into individual compartments.

You'll want to position high-value items near your cash station for better supervision. Remember to count your cash regularly throughout the day, and store extra money in a secure location away from the main sale area.

This organized approach will help you manage transactions smoothly while maintaining proper security.

Preventing Money Theft

In accordance with proper security measures, your garage sale's success depends heavily on preventing theft and maintaining control of your money.

Implementing effective cash security measures starts with keeping minimal cash on hand and storing it in a secure, non-visible location.

As part of your theft prevention strategies, you'll want to conduct transactions outside the garage while positioning valuable items near your checkout area.

Don't accept personal checks, and consider using a counterfeit detection pen for large bills.

You'll need at least two people managing the sale to maintain proper oversight and security.

Keep your cell phone readily available, and position larger items strategically around the perimeter to prevent concealment opportunities.

It's vital to watch for common distraction tactics that thieves might use while attempting to steal.

You should also inform your neighbors about the sale and ask them to stay vigilant.

Remember to maintain good customer service by greeting everyone, but don't allow anyone inside your home for any reason.

Accept Digital Payments Safely

Offering digital payment options at your garage sale expands your customer base while providing a secure alternative to cash transactions. To guarantee digital payment security, choose established platforms like PayPal, Venmo, or Zelle, and create a dedicated account with a clear profile picture for easy identification.

For maximum transaction efficiency, follow these essential steps:

  1. Set up your digital payment accounts before the sale and test them with a friend to guarantee smooth operations.
  2. Display clear signage indicating which payment platforms you accept and your account usernames.
  3. Establish a designated checkout area with a dedicated device for processing electronic payments.
  4. Always verify that payments have been received before letting items leave your sale.

Keep your digital transactions organized by using a single device for processing payments, and consider having an assistant manage other customers while you complete electronic sales.

When accepting payments, request that buyers send money using the "friends and family" option to avoid additional fees. Remember to track all transactions carefully, especially if you're hosting a multi-family sale where proceeds need to be divided accurately.

Dealing With Leftover Items

Successfully wrapping up a garage sale doesn't end when the last customer leaves. You'll need a solid plan for handling the remaining items, guaranteeing nothing goes to waste.

Start by sorting your leftover items into categories: items to donate, items to sell through other channels, and items that need disposal.

For donation options, you can contact local charities, thrift stores, or shelters that accept gently used items. Many organizations offer pickup services, making the process more convenient.

If you're still interested in selling strategies, consider listing items on online platforms like Facebook Marketplace or Craigslist, where you might reach a different audience than your garage sale attracted.

For items that can't be donated or sold, you'll need to handle disposal responsibly. Sort through what can be recycled and what needs to go to the landfill.

If you're dealing with large amounts of leftover items, consider hiring a junk removal service. They'll guarantee proper disposal and often donate usable items to charities.

Remember to check your local waste management guidelines to dispose of items correctly and environmentally responsibly.

Conclusion

Just like a garden needs careful tending before winter, you'll need to mindfully prepare your California garage sale before moving. You're not just selling items, you're clearing the path for your next chapter. By following the steps outlined above, you'll transform your cluttered space into an organized, profitable sale. Remember, every item sold is one less thing to pack, making your shift smoother and your moving journey lighter.

David Barroso
David Barroso
Jan 10, 2025

CA NY Express Movers and Eric Rummel, the account executive, provided exceptional assistance during my move. They ensured that I received the best price and that the entire process Read more testimonials

Katelyn R.
Katelyn R.
Jan 16, 2025

We used CA-NY Express last month to move from NYC to LA and had a great experience. We had never made a cross-country move before and didn't know what to expect, Read more testimonials

Luis Alexis Cubias
Luis Alexis Cubias
Jan 07, 2025

I RECOMMEND THEM THEY ARE VERY FAIR TO CHARGE AND THEY DO THE WORK VERY WELL AND RESPONSIBLE TO TAKE CARE OF YOUR FURNITURE Read more testimonials

Back to top